Blog
Micro Switch Selection Guide: How to Choose the Right One

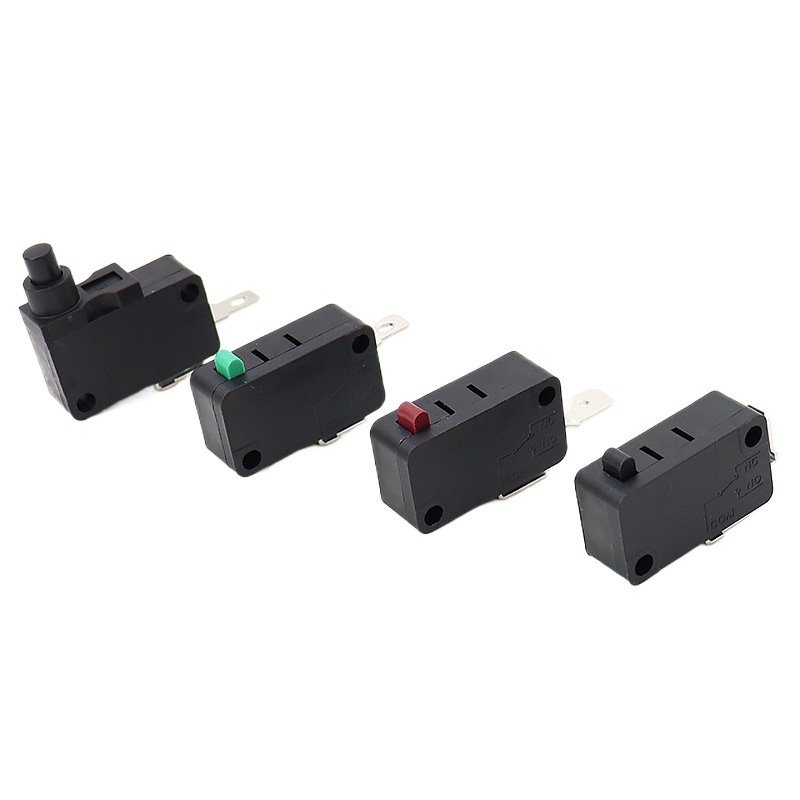
Selecting the right micro switch for a given application is rarely about picking the cheapest part on the shelf. A micro switch is a precision electromechanical component, and its real-world performance depends on how closely its specifications match the actual operating conditions of your equipment. Whether you are designing a household appliance, an industrial control panel, or a battery-powered device, a structured evaluation helps you avoid field failures and expensive rework. This micro switch selection guide breaks the decision down into six practical dimensions.
1. Electrical Ratings Come First
The first and most critical check is the electrical load. The switch’s rated voltage and current must exceed the actual circuit values, and you should keep a safety margin of at least 20 percent. It is also essential to keep AC and DC ratings separate: a figure that is valid for alternating current does not automatically apply to direct current, where the arc is harder to extinguish. Inductive loads such as motors and relay coils demand further derating, and in some cases an external arc-suppression component becomes necessary.
Beyond the load itself, the contact form defines your control logic. SPST (single-pole, single-throw) suits simple on/off functions, SPDT adds a common terminal with one normally-open and one normally-closed contact—ideal for safety interlocks—and DPDT controls two independent circuits. Contact material also plays a role: silver alloys such as AgCdO or AgSnO2 resist welding and arc erosion under high current, while gold-plated contacts keep contact resistance low and stable in low-signal or low-voltage circuits.
As a practical rule, never size a switch to the exact load. If your circuit switches 2 A at 12 V DC, choose a part rated for at least 3 A so the contacts age gracefully under inrush current and arcing. That small headroom is one of the cheapest ways to improve long-term reliability, and it also reduces warranty claims caused by marginal contacts.
2. Match the Mechanics to Your Actuator
A switch only works if the surrounding mechanism can actually trip it. The operating force should sit comfortably below the force your mechanism can deliver; a common rule is to design the actuator to output at least 1.5 times the switch’s operating force, which prevents both missed actuations and false triggers. In the same way, the reset (return) force must overcome the mechanism’s own return resistance so the plunger always springs back.
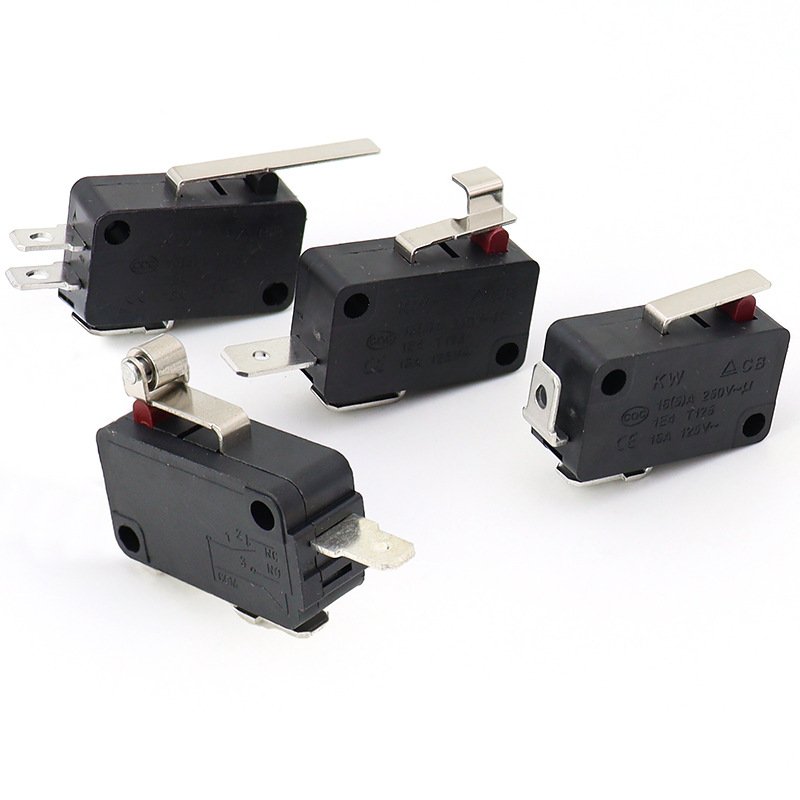
Travel geometry matters just as much. Pre-travel is the free movement before the contact transfers, over-travel is the extra distance the plunger can safely move afterward, and exceeding the maximum over-travel can bend the internal spring blade. Finally, choose an actuator style that fits the motion: a pin plunger for direct pressing, a roller lever to track a cam or sliding part with less friction, or a long lever to amplify a small movement.
3. Build for the Real Environment
Where the switch lives largely determines whether it survives. For benign indoor enclosures, an IP40 rating that blocks solid particles is usually enough. In damp, dusty, or oily areas, step up to IP54 for splash protection, and for outdoor or wash-down duty choose IP67 or IP68. Temperature is the next variable: low temperatures thicken the internal grease and raise operating force, while high temperatures test the housing material. If the equipment faces corrosive gas, salt spray, or heavy vibration, select a sealed, corrosion-resistant model that is rated for mechanical shock.
4. Do Not Ignore Lifespan
Durability is where many designs quietly fail. Electrical life—the number of loaded switching cycles—is usually the limiting factor, often starting around 20,000 cycles and reaching 100,000 or more for high-frequency duty. Mechanical life, measured with no current flowing, runs far higher, commonly from 100,000 up to over 1,000,000 cycles. Match these numbers to your device’s actual actuation frequency and keep a comfortable margin so the switch outlasts the product warranty.
5. Fit the Form Factor and Assembly
Even a perfectly specified switch fails if it will not mount. Confirm the outline dimensions against the space you have, and verify the mounting holes and method—screw fixing, panel mounting, or snap-in terminals. Terminal type also affects manufacturing: quick-connect terminals speed up assembly on the line, while solder-pin versions require controlled soldering temperature to avoid damaging internal parts.
6. Meet Compliance and Market Requirements
Finally, certification opens the door to specific markets. In China, look for CCC; for North America, UL (for example UL 61058) is typically required; and for Europe, CE or ENEC marks apply. On the material side, RoHS 2.0 and REACH compliance are the baseline, and some customers additionally request halogen-free, low-smoke formulations. These micro switch specifications should be confirmed early, because they influence both the part number and the lead time.
Wrapping Up Your Micro Switch Selection Guide
In practice, the right choice is a trade-off. High-frequency applications should prioritize lifespan, precision instruments should lock in operating force and travel accuracy, and harsh environments should lead with ingress protection. If you are narrowing down options, you can browse our full micro switch catalog or explore the micro switch product category to compare certified, in-stock models side by side before you place an order. Documenting your requirements against these six points also makes it much easier to request samples and compare quotations from different suppliers, so the evaluation pays off long after the design is signed off.