

Blog
Tact Switch Life Test: How to Do It Right

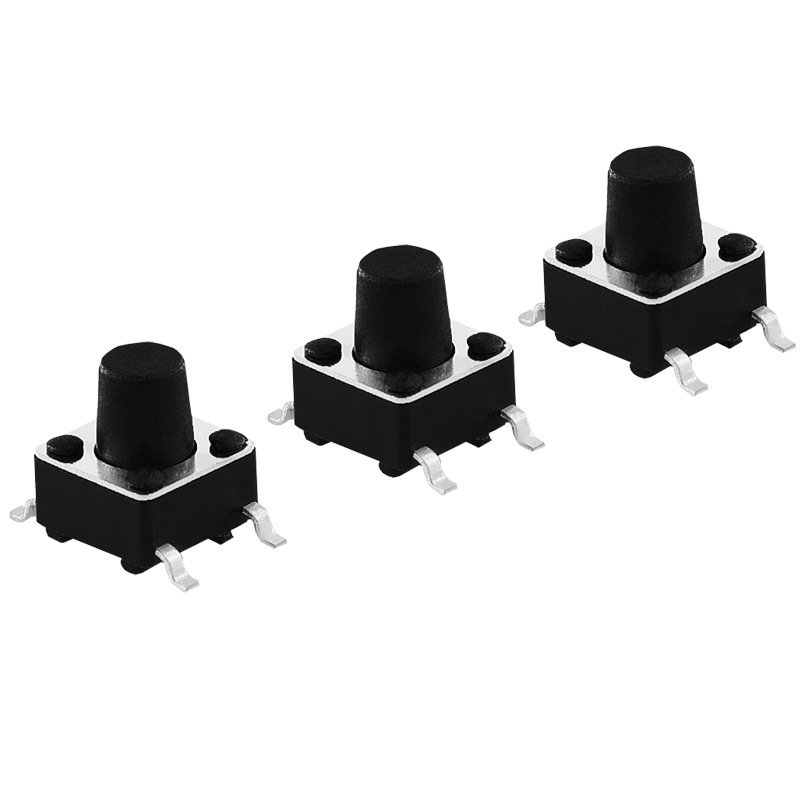
Tact Switch Life Test: How to Measure Real Endurance
A credible tact switch life test does more than press a button until it breaks. It recreates the real duty of the part, watches both the mechanics and the electrical behavior, and applies objective pass or fail rules. Because a switch can fail in two very different ways, the test must separate mechanical endurance from electrical endurance, then weigh them together. This guide lays out a practical method you can run in a lab or on the production line.
1. Two Lifetimes, Two Different Tests
Start by separating the two numbers suppliers quote. Mechanical life is the count achieved with no current flowing, so it stresses only the spring, the dome or leaf, and the housing against fatigue and wear. Figures typically land between 100,000 and 1,000,000 cycles. Electrical life is measured while the switch actually breaks a rated load, so it also fights contact bounce, arc erosion and the slow rise of contact resistance. Because arcing accelerates wear, electrical life is usually the lower figure, often in the 50,000 to 500,000 range. Reporting one without the other hides the real risk, so evaluate both.
2. Mechanical Life Test
For the mechanical run, mount the sample in a fixture driven by a robot actuator, a solenoid, or a small motor turning an eccentric cam, and pair it with a cycle counter. The switch stays unloaded electrically. Press it through its specified travel at a realistic speed, commonly 30 to 100 actuations per minute, and keep going until you see sticking, failure to return, or visible structural damage. The cycle at which the mechanism gives up is your mechanical life. Keep the actuation force aligned with the part’s rated operating force, because over-driving the plunger distorts the result. Speed also matters: running far above the application rate can overheat the dome and understate life, so match the test cadence to how the part will actually be used. For products sold into harsh markets, repeat the mechanical run inside a temperature and humidity chamber so cold-brittle or grease-thickening effects are captured rather than ignored.
3. Electrical Life Test
The electrical run connects the switch to its rated load, for example 12 V DC at 50 mA of resistive load, and switches it repeatedly at a set frequency, often around 30 cycles per minute. The key difference from the mechanical test is live monitoring: track contact resistance and insulation resistance throughout, and declare failure the moment either value crosses its limit. This catches the subtle failure modes, such as a contact that still clicks but no longer conducts cleanly, which a mechanical-only test would miss. Bounce and arc erosion show up here first, so this is where real-world reliability is decided. Be careful with the load type as well: the same switch endures far fewer cycles on an inductive load such as a coil or motor than on a clean resistive one, so choose the load that mirrors your product rather than the easiest number to quote.
4. Auxiliary Durability Checks
Around the two core runs, add a few qualitative checks that round out the picture. Compare the actuation feel before and after the test, noting any change in force or loss of crisp return, and inspect the surface for wear, cracking or plunger wobble. These cues do not define the pass or fail line, but they explain why a part failed and help you predict field behavior. Pair them with the hard cycle counts for a complete durability verdict.
5. Pass or Fail, and the Right Standard
Mark the switch as life-exhausted when it can no longer make or break cleanly, when it jams mechanically, or when an electrical parameter such as contact resistance moves outside the specified range, then record the actual actuation count at that point. To keep results objective and comparable, run the procedure against a recognized standard such as IEC 61058-1 or the Chinese GB/T 15092.1, which define the conditions and acceptance limits. To shortlist models already built and rated for these tests, you can browse our full tact switch catalog or explore the tact switch product category and pick candidates for your bench.
Conclusion
A meaningful tact switch life test is disciplined, not just repetitive. Split mechanical and electrical endurance, drive the part at its real force and rated load, monitor contact and insulation resistance live, and judge against IEC 61058-1 or GB/T 15092.1. Above all, remember that true tact switch reliability depends on the dome material, the operating temperature and humidity, and the actual load, so always interpret the numbers against the conditions your product will really face.
Sample Size and Reading the Results
One switch proving a million cycles tells you almost nothing; a single early failure tells you less. Run a representative sample, often a minimum of five to ten pieces per variant, and report the distribution rather than a single hero number. Look at where the first failure occurs and where the bulk settles, because the spread reveals manufacturing consistency as clearly as the average does. Combine that spread with the failure mode you observed, mechanical jam versus contact drift, and you get an actionable verdict: either the part is safe to specify, or the design margin needs to be revisited before it reaches the field.
One thought on “Tact Switch Life Test: How to Do It Right”