Blog
How to Solder Wires to a Micro Switch: Step-by-Step Guide

Introduction
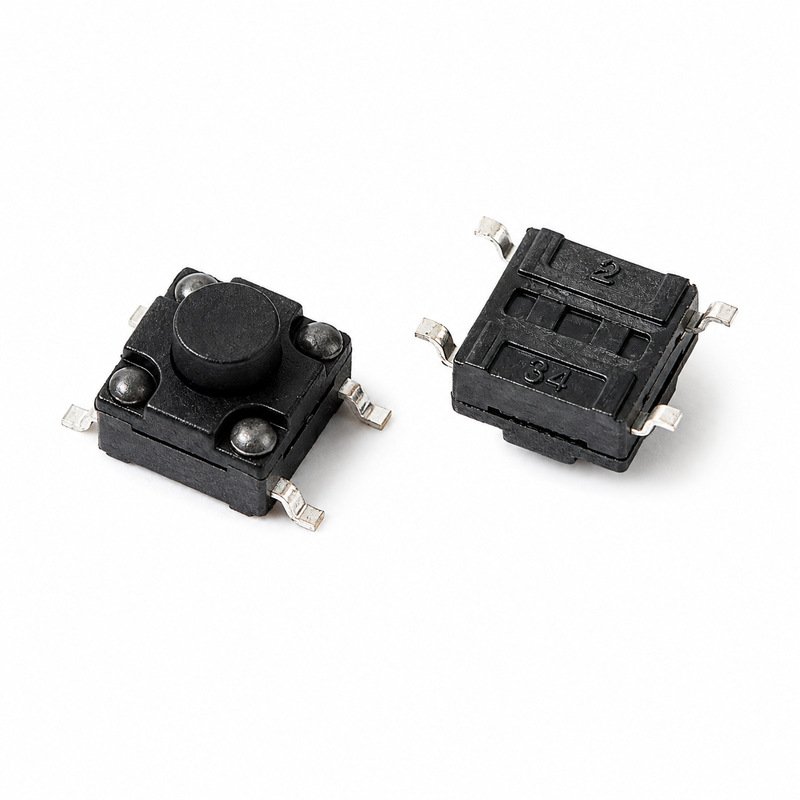
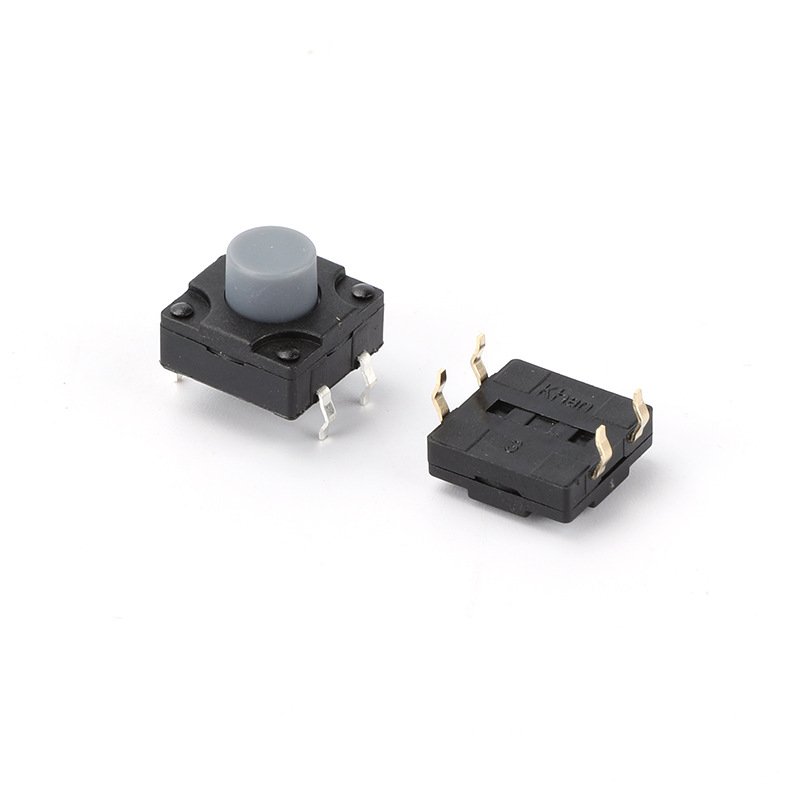
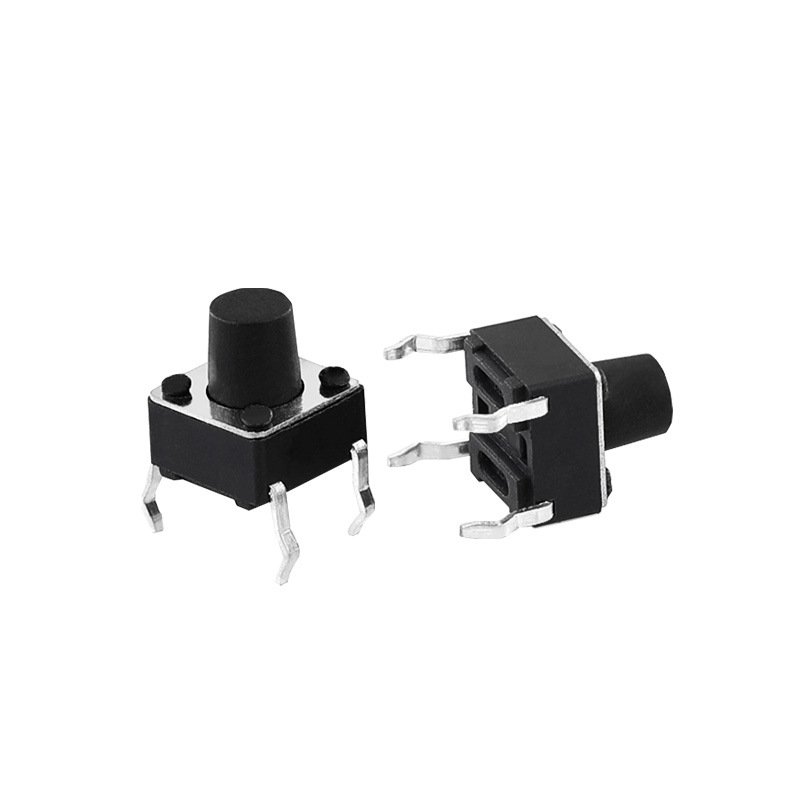
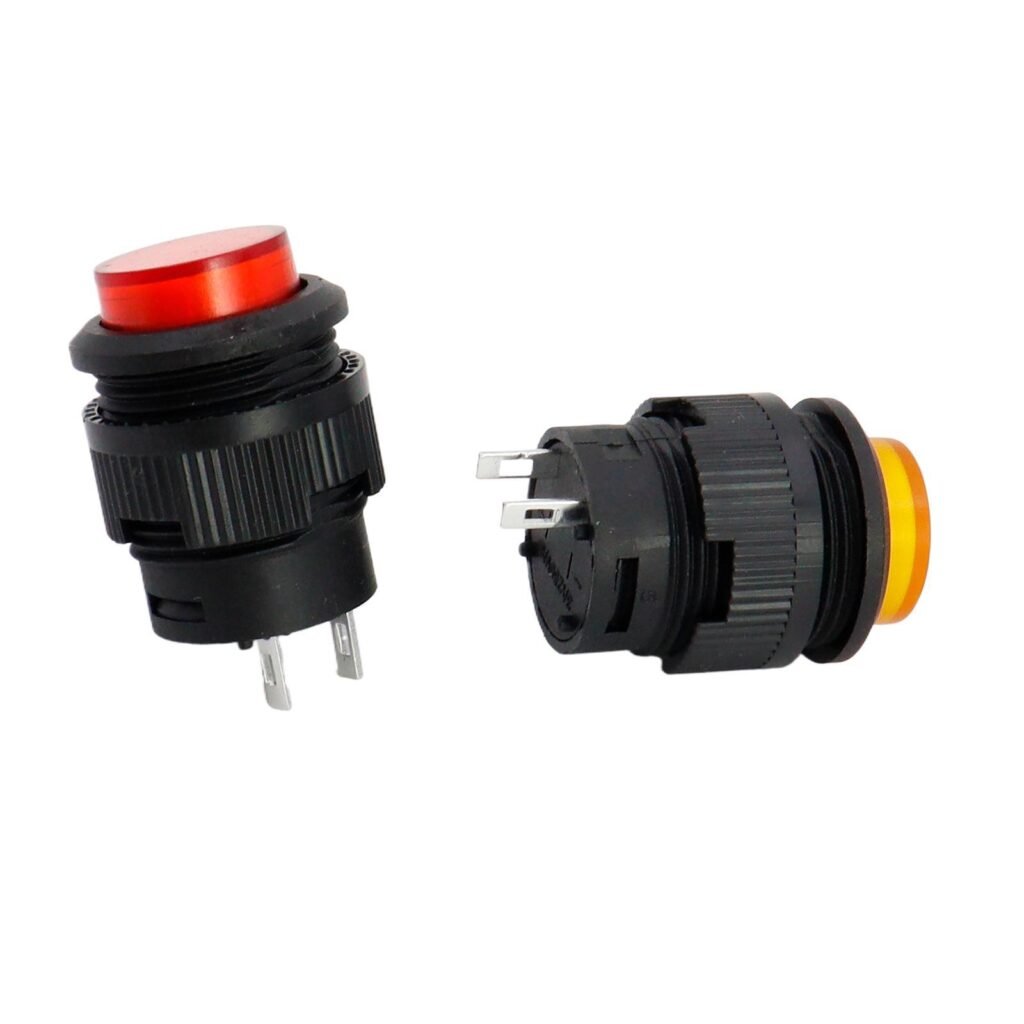
Micro switches are key parts in many devices. They appear in home appliances, garden tools, cars and factory machines. At the same time, they need correct wiring to work well. Therefore, good soldering is very important. A micro switch and a Tact Switch both use small contacts that must be soldered cleanly. This guide shows the right way to solder wires to a micro switch, step by step.
Tools and Materials You Need
Prepare the right tools before you start. This saves time and avoids mistakes. The main items are listed below.
Micro switch: Choose one that fits your voltage, current and space. Check its pin layout and terminal functions first. Make sure it matches your circuit design.
Welding equipment: Use a constant-temperature soldering station or a controlled iron. Also get wire strippers, flat-nose pliers and heat-resistant tweezers. These help you hold the switch and trim the wires.
Understand the Three Terminals: COM, NO, NC
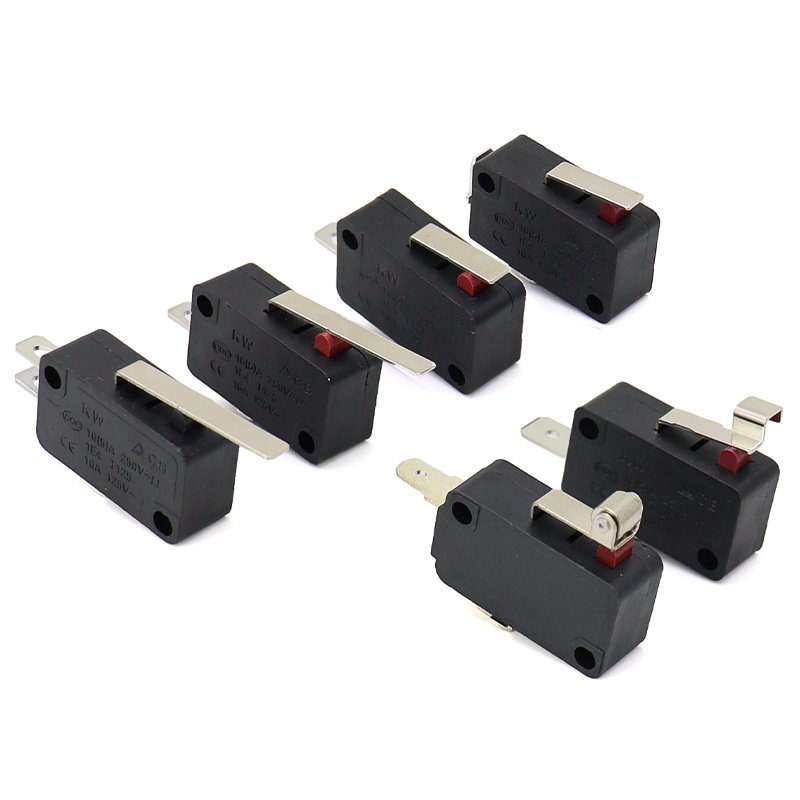
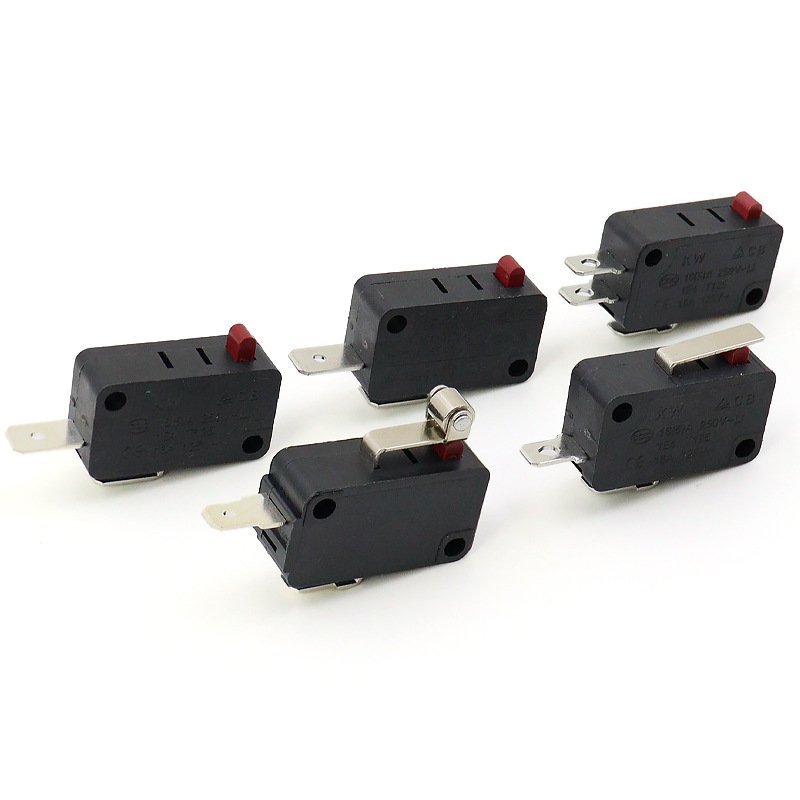
Each standard micro switch has three terminals. They are Common (COM), Normally Open (NO) and Normally Closed (NC). Different pairs give different control modes. Therefore, confirm each terminal before soldering. This step prevents wrong wiring and later faults.
Tact Switch vs Micro Switch: Same Soldering Logic
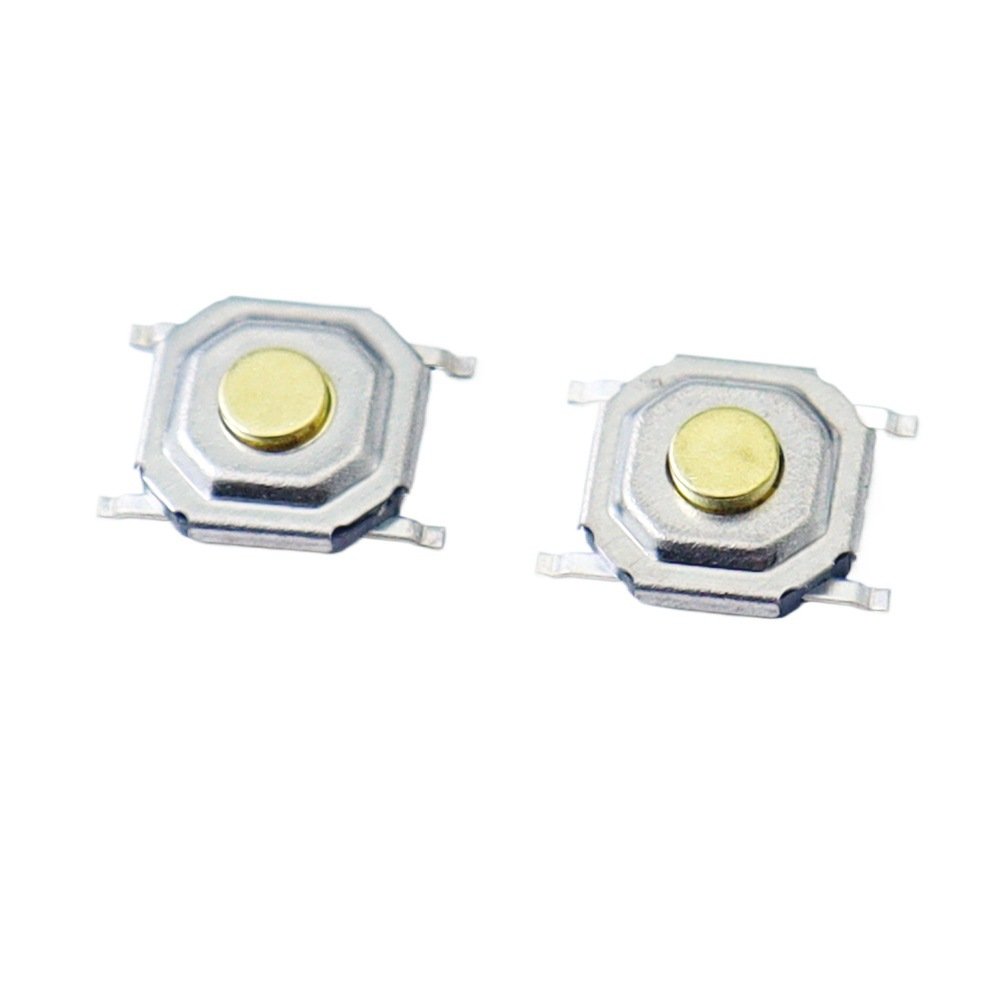
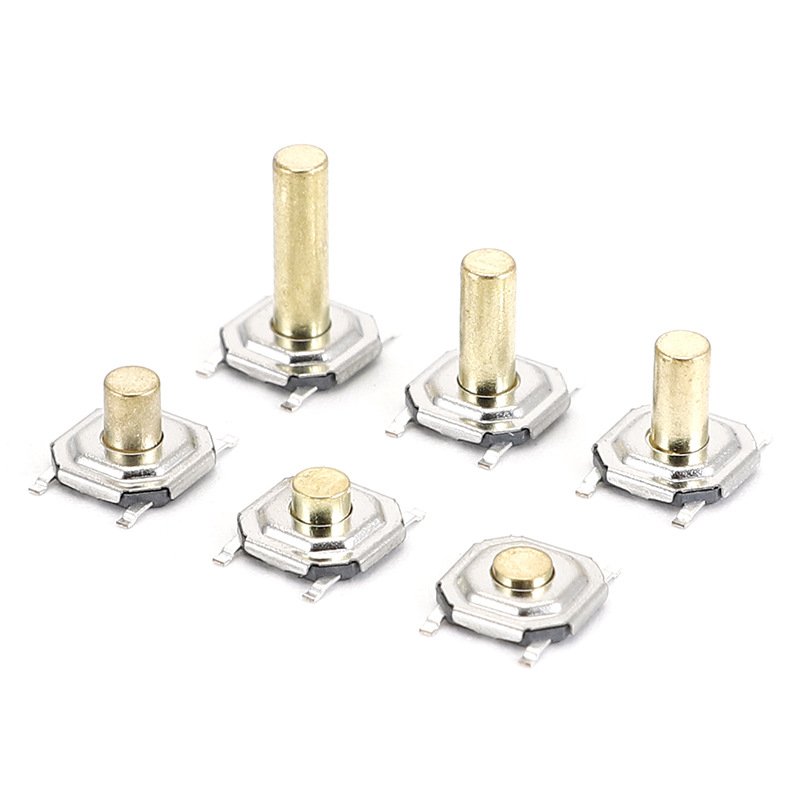
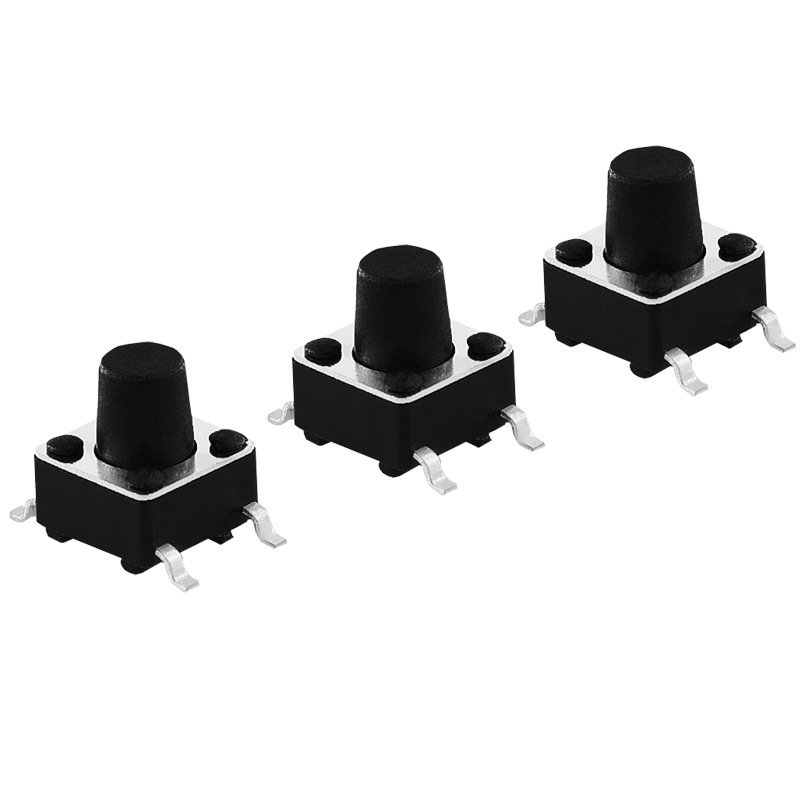
A Tact Switch shares a similar contact design. However, it is smaller and built for light touch. In contrast, a micro switch handles a higher load. Both need clean, solid solder joints. Because the logic is the same, the steps below work for either part.
Step 1: Preprocess Wires and Terminals
Strip the wire ends to the right length. Next, clean the oxide layer from the terminals. Then pre-tin the wire cores and the terminals. As a result, the solder will flow and stick far better. This also lowers the risk of cold joints.
Step 2: Preheat the Soldering Iron
Turn on the station and set it to 300℃-350℃. This range suits micro switch wiring. Preheat the iron fully until the tip is steady. Meanwhile, tin the tip for better heat transfer. A hot, tinned tip melts solder fast and evenly.
Step 3: Tin the Wire and Terminal
Apply a small amount of solder to the tinned wire and terminal. This step is optional but useful. Moreover, it helps the final joint form quickly. It also reduces the chance of weak, hollow connections.
Step 4: Solder the Joint
Place the wire onto the terminal. Touch the iron so it heats both parts. Feed solder until it wraps the joint fully. Then remove the iron. Do not move the wire yet. A still joint cools into a smooth, strong bond.
Step 5: Cool and Fix the Joint
After welding, keep the wire fixed in place. Do not shake or pull it until the solder cools. When it is solid, gently pull the wire by hand. This checks the firmness of the spot. As a result, loose joints are found at once.
Post-Welding Inspection and Testing
First, inspect the joint by eye. Check that it is smooth and full, with no voids or sharp spikes. Confirm no bare copper can cause a short. Next, use a multimeter to test continuity. Also do a pull test on each wire. Thus, hidden cold joints are caught early.
Browse our full range of micro switches and Tact Switch models for your wiring projects.
Common Mistakes to Avoid
Too much heat can burn the switch body. Moving the wire while cooling cracks the joint. Skipping pre-tin leads to cold solder. Therefore, follow each step in order. In addition, keep your tip clean for every connection.
Conclusion
Soldering wires to a micro switch needs care and the right steps. With a Tact Switch-style contact, the same method applies well. In short, clean terminals, steady heat and patient cooling give a firm joint. As a result, your device runs safely for a long time.
View our complete micro switch catalog to pick the right model for your circuit.
FAQ
Q1: What are the three terminals of a micro switch for soldering?
They are COM, NO and NC. COM is the common point. NO closes when pressed. NC opens when pressed. Know each one before you solder.
Q2: How do I avoid cold solder joints?
Clean the oxide layer first. Pre-tin the wire and terminal. Keep a steady temperature. Make sure the solder fully melts and wraps the joint. Then do a pull test and a multimeter check.
Q3: How do I test the soldered connection?
Use a multimeter for continuity. Also do a visual check and a gentle pull test. Therefore, you catch weak joints before the device is used.
Q4: What is the standard soldering temperature for micro switches?
Use 300℃-350℃. This range suits micro switch wiring. It melts the solder quickly without damaging the part.